
After successfully making an engagement cake and Groom's cake for my friends Ted and Christina, I knew I was going to be doing another cake when my friends Lauren and Jeff got engaged!
I knew that Jeff's Groom's cake was going to be aquarium-themed because he loves fish, but I didn't quite know how I was going to do it. So I started with the basics... an aquarium!

I first had Lauren pick up a basic aquarium from PetSmart. From there, I came up with my plan for the cake.... I wanted it to be 3-D and realistic(ish) looking! Once I got the tank from Lauren I had to remove the bottom glass so I was just left with 4 glass walls. I decided that the cake part was going to be the bottom or "gravel" of the aquarium, and then I was going to decorate it with sugar coral, chocolate shells, etc.

After making several trips to my cake store, the grocery store, and Michael's I had everything set and was now ready to start making the cake!
I thought that I should started with my most worrisome task... making the sugar coral! I was nervous about doing this because I had never done it before and was on a strict time constraint to do it (only a few days until my friend's wedding). I wouldn't have enough time to do it over if I messed it up.
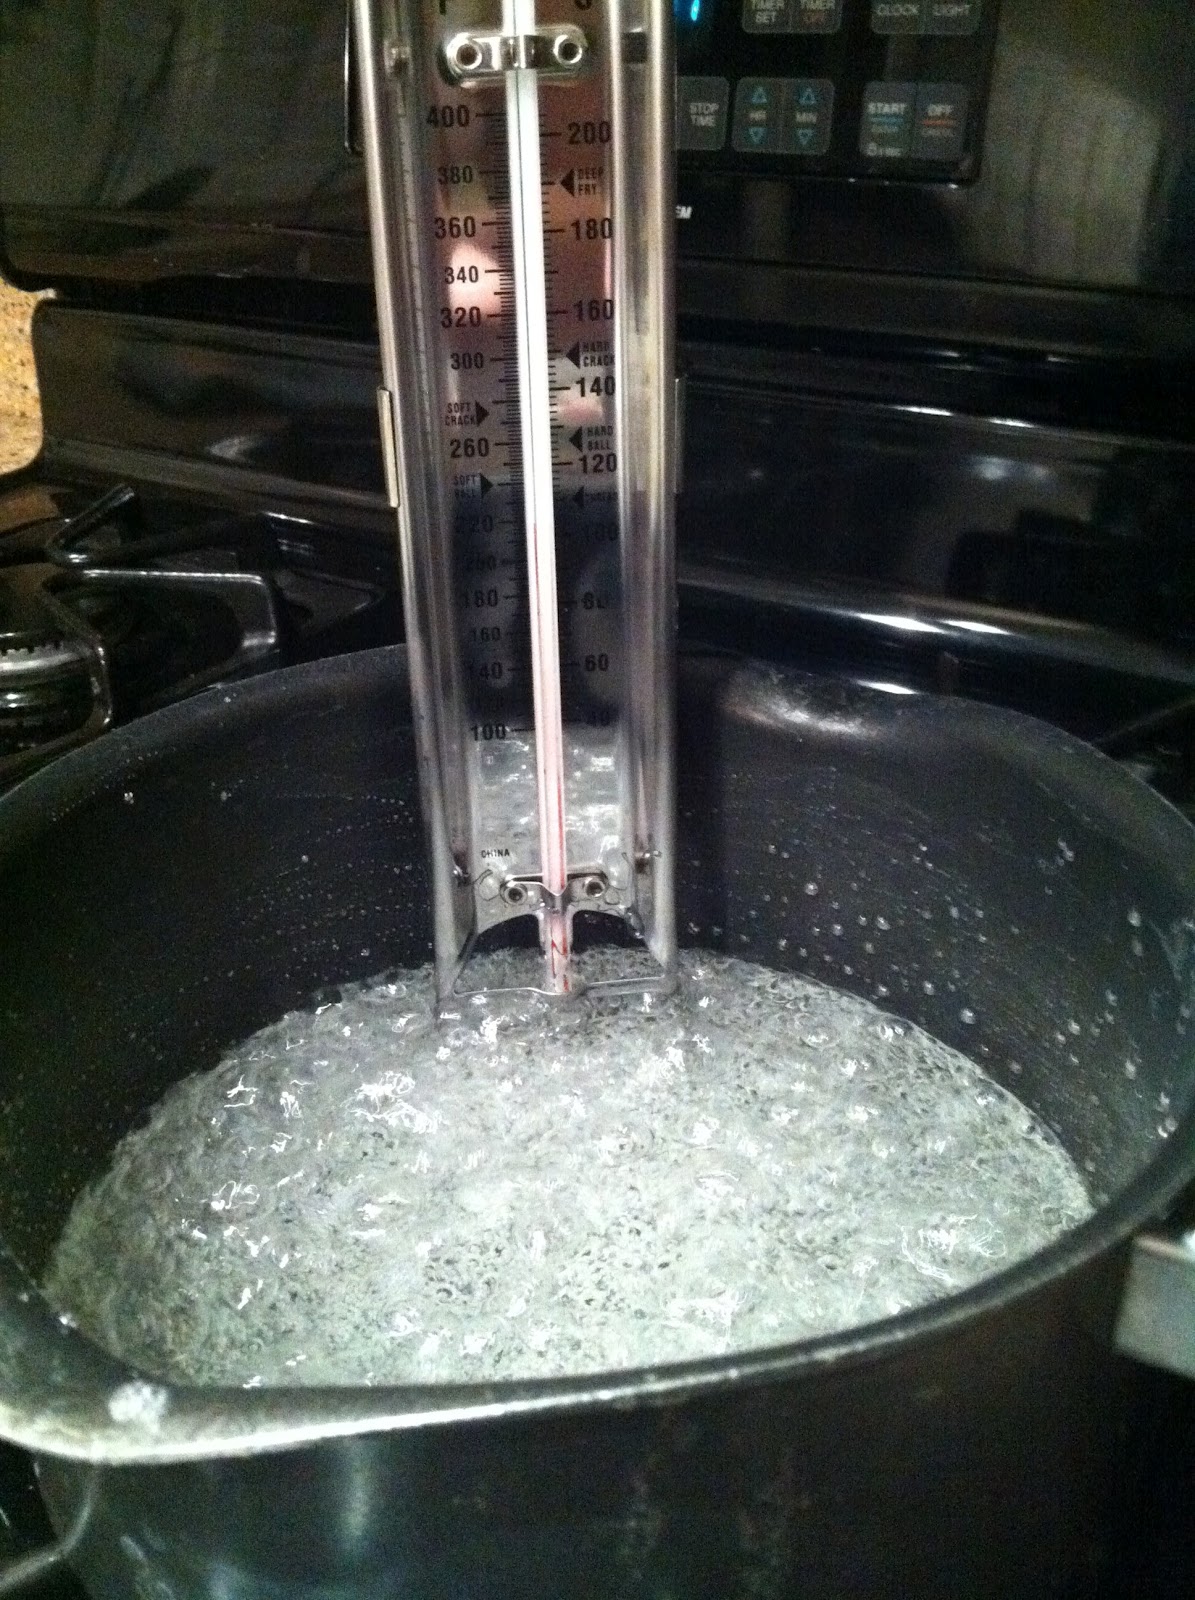
I bought two bags of isomalt sugar at the cake store, added some distilled water and started cooking it on the stove. Once it reached a specific temperature I was able to add food coloring (I chose to make it a red-orange color), after I added the food color I waited for it to reach an even higher temp., and then I took it off the stove and put the pot in a pan of cold water to stop the cooking.

When the isomalt sugar got to a gooey consistency I poured it over a bowl I had filled with ice. As the extremely hot mixture melted the ice, it formed a very cool mass that resembled coral!!! I was shocked that it turned out so realistic-looking!


After picking up the sugar coral I realized how sharp it was and ended up slicing 8 of my 10 fingers! Note to Self: wear gloves next time I sculpt sugar!

I ended up doing two batches of the sugar coral in similar colors. The only thing I came to realize is that because I was making the coral on a humid night the sugar didn't harden right away (it was sticky to the touch), so I had to put it in the fridge overnight and then put it in an airtight container filled with rice to suck the moisture out. Once I did that, everything seemed to be fine.

The next task on my agenda was to make the actual cake part! Since the aquarium was more narrow and much longer than your typical sheet cake pan I had to make 3 cakes and patch them together to get the exact size I needed.

Originally when I was sketching out the plans to this cake I envisioned covering the base in candy pebbles, but since I didn't have enough time to order the pebbles online it would have just been too expensive to cover this huge cake. So then I had to start thinking of other options... I first thought of covering the base in Rice Krispies, but then I couldn't exactly decide how I could easily and evenly color them. AND THEN IT HIT ME.... DUH....FRUITY PEBBLES are already colored and look like fish tank gravel! So that's what I ended up using :-)

I then moved on to making all sorts of shells (and crawfish) out of chocolate. I got the molds from my cake decorating store and Michaels :-)

Lastly, I had to attach my sugar fish to thin florist wire to make it look like they were swimming in mid air, but was afraid that the fish wouldn't stick or would be way too fragile if I used frosting.... so I decided to attach the sugar fish to the wire with chocolate. It worked like a charm!

The afternoon of the wedding I had a friend (and fellow bridesmaid) help me set it all up. I do have to say that it ended up turning out much better than I could have imagined! The only problem is that people didn't know that it was a cake and everything in there was edible!!!

Here it is all lit up and pretty at the wedding!!!
Another cake bites the dust...

No comments:
Post a Comment